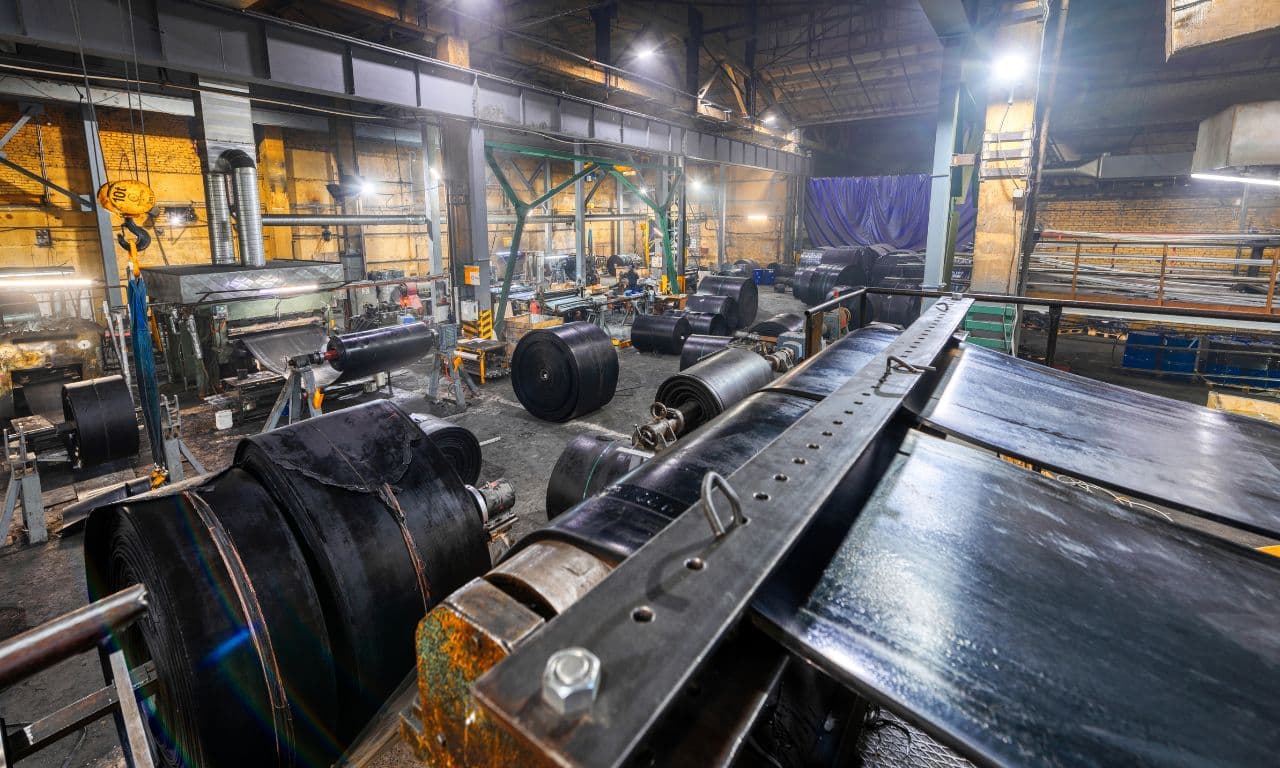
Bonding rubber to steel is a critical process in many industrial settings — from conveyor belt splicing in mining operations to producing vibration-damping components in manufacturing. Achieving a strong, reliable bond requires more than just selecting the right adhesive. Proper surface preparation, correct primer application, and controlled bonding conditions all play a role in ensuring long-term performance.
In this article, we’ll walk through proven techniques that professionals use to get consistent results when working with rubber-to-steel bonds.
Understanding the Role of Primer
A primer acts as the bridge between steel and rubber. It improves surface energy, enhances adhesive penetration, and creates a chemically compatible layer that allows the adhesive to achieve maximum strength. Without primer, even the best adhesive may fail prematurely under stress, temperature changes, or environmental exposure.
For example, when bonding rubber linings inside steel chutes or pipes, primer ensures that the bond holds up against both mechanical impact and chemical exposure.
Step 1: Surface Preparation of Steel
Before primer can do its job, the steel must be clean, dry, and free from contaminants.
Key preparation steps:
- Degreasing – Use a suitable solvent cleaner to remove oil, grease, and dirt.
- Abrasion – Lightly grit-blast or sand the surface to create a uniform, textured profile that the primer can grip.
- Dust Removal – Blow or wipe away any debris immediately before priming.
A well-prepared surface increases primer adhesion and prevents weak points in the bond.
Step 2: Applying the Primer
Primer application is not about quantity — it’s about uniform coverage.
- Thin, even layer – Apply using a brush, roller, or spray. Avoid thick coatings that can trap air bubbles.
- Drying time – Follow manufacturer recommendations. Some primers require a short tack period before adhesive application, while others should fully dry.
- Environmental controls – Apply primer in a dust-free environment at the right temperature and humidity for optimum bonding.
Step 3: Selecting the Right Adhesive
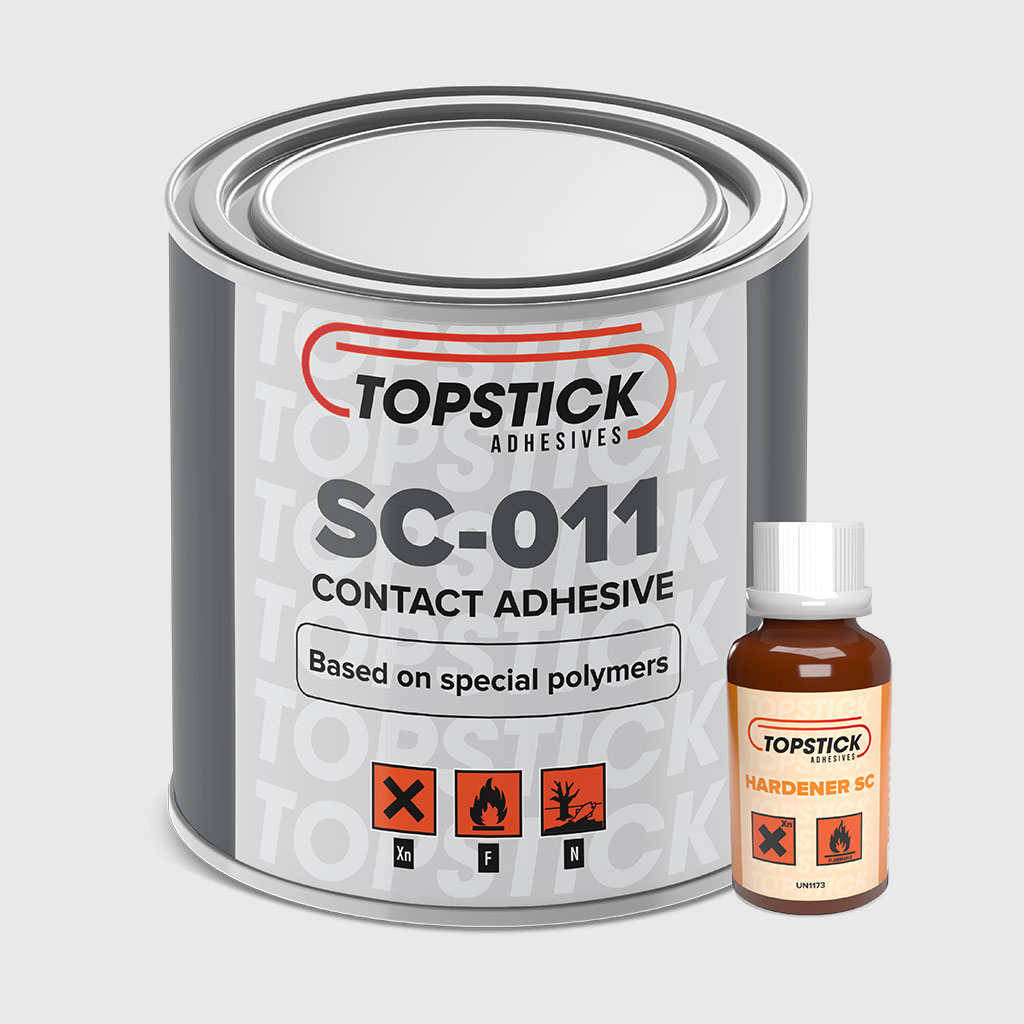
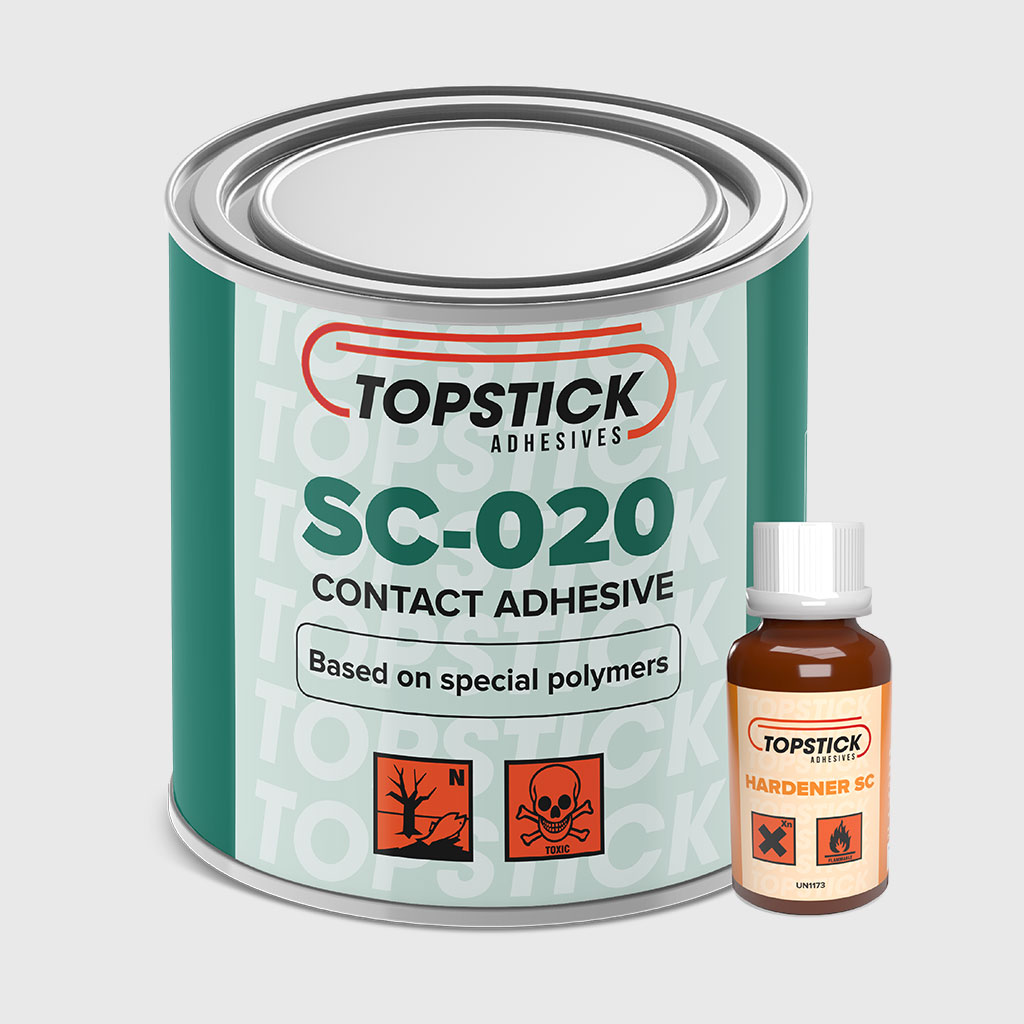
Even with proper priming, adhesive choice matters. For demanding environments, industrial-grade contact adhesives like Topstick SC-011 or SC-020 offer high bond strength and durability.
- High-impact areas – Use a high-strength, two-component adhesive for maximum resistance.
- Flame-free zones – Choose a non-flammable adhesive for underground or high-risk environments.
View the full product range.
Step 4: Bonding Rubber to Steel
Once the primer is ready:
- Apply adhesive to both surfaces.
- Allow the adhesive to reach the correct tack stage.
- Press the surfaces together with firm, even pressure.
- Use clamps or presses where possible to ensure maximum contact and bond formation.
Common Mistakes to Avoid
- Skipping primer on steel surfaces.
- Rushing drying times, leading to weak bonds.
- Using the wrong adhesive for the application environment.
- Ignoring safety precautions, especially with solvent-based primers.
Final Thoughts
A strong, lasting rubber-to-steel bond starts long before the adhesive is applied. Proper surface preparation, correct primer usage, and attention to curing conditions are what separate a quick fix from a professional-grade solution.
For more guidance on selecting primers and adhesives for your specific application, explore our product range or contact our technical team.